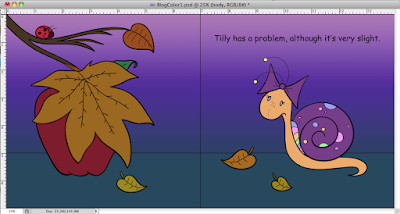
After I had colored my background, I then filled in the rest of the characters with solid flat color. To do this, I first created a new layer below my line work and above my background layers. Then, with my new layer selected, I used the magic wand tool, and selected an area to color.
I then made sure there was no space between my selection and black lines. To do this, I clicked on Select-Modify-Expand and expanded my selection by 3 pixels.
I then used the paint bucket tool and filled my selection with color:
I used this method for the remaining areas and ended with this:
Here is a look at my layers palette after all of the areas had been filled with color:
Next Step: Coloring in Photoshop-Part 3-Clororing Line


No comments:
Post a Comment